

Happy July, my Beautiful Butterflies!!!
This year is half over!! Like what?!? How???
Anywho, you're catching me in this newsletter fresh off a trip to San Diego for a Bat Mitzvah, and just before a trip to Cincy for my brother-in-law's wedding! So, I'm keeping this post short because mama is busy!!
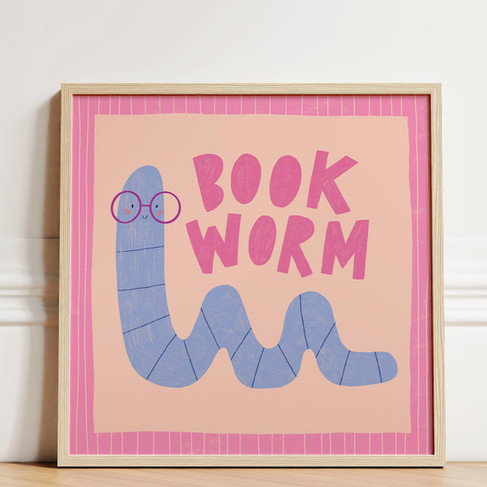
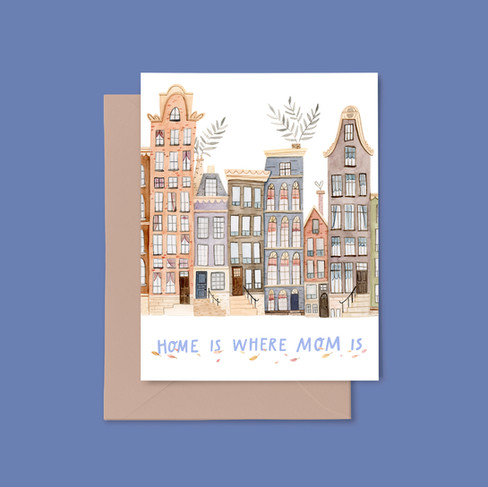
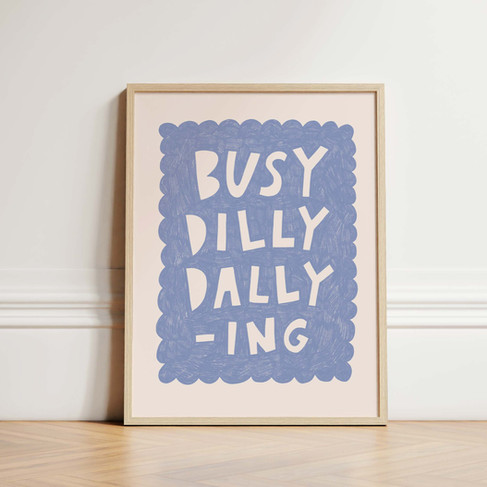
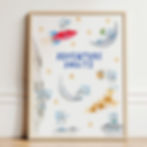
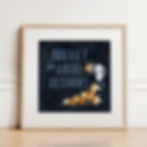
I've been very heads-down working on commissioned paintings, calendar artwork, and sketches for an exciting new project with Jessica Correnti of The ABCs of Grief series this past month. But I have also been getting so much love for my Book Nook art prints, pictured below, in my Etsy Shop!
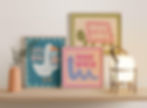
I LOVE to read not only children's books, but also adult books. I may have to do a separate post about all of my favorite books so far in life. But anywho, I made these prints to foster that love of reading at an early age. We started reading to Leonora the moment she was born. I remember my sister laughing at me reading to a newborn, but for me, it was a way to talk to my little girl before she had words herself. To let her know I was there! And sneakily, I wanted to sit and enjoy all of the books that I had been gifted by my loved ones.
Leonora is 2.5 years old now, and we still read books before bed. She also has started to pretend "read" to us which is hilarious and adorable! I recently found myself going back to these illustrations with all of the love they've been getting on Etsy, and I watched the time-lapse of the art coming together. After watching it, I knew I had to share it with all of you this month. I posted all three videos below. They are super short (like 15-30 seconds a piece). SO I hope you enjoy these super short super quick videos so you too can get back to your summer!!
I'd love to hear what your favorite books are right now, for both littles and yourself?
Until next time,
Rachel

Happy June, My Lovelies!!!!
As I'm writing this, I'm finding myself a bit fatigued (Physically and mentally). I have a habit of putting too much on my plate. I've talked about this before. I've been trying to give myself fewer to-dos, so I feel more accomplished as a whole. It's a strategy that definitely works, but sometimes makes me feel like I'm cheating the system. The thought that "I'm not doing enough" often eats away at me. But I'm tired lately, so I try to offer myself grace. Sometimes I accept it, and sometimes I toss it aside. But this month I have been feeling a little blah, and writing down what all I did last month has made me realize how much I actually have done, even if it's been at a little bit of a slower pace. And now, I shake my head, wondering why I feel like it's not enough. So, in order to boost my morale a little, I'm going to walk through all the things I've worked on in May!

Okay, so May started with 2 different chalk jobs for weddings! Wedding-related work was something I did, almost exclusively, when I first started my career. While I loved it, I really wanted to pivot to illustrative work. So, I started to only take on select jobs for weddings to free up my time. One of those jobs is chalk art for two restaurants in Houston that have beautifully massive chalkboards! They host events, such as weddings, and I get to work with the clients, drawing fun pieces to act as a cool backdrop for their evening. I would classify them in the "mural" category of my work. I had two events back-to-back the first two weekends of May. I pictured both below, along with the corresponding sketches. I typically pull inspiration from the stationery, florals, and decor for the event, so it's nice and cohesive. I also get to work on the chalkboards while the restaurants are setting up, which is fun to experience all of that happy but stress-filled, organized chaos!


I've slowly been chipping away at the calendar illustrations. So far, I've been able to illustrate one design each week. I'm currently painting the design for September. This has been a lovely, relaxing activity this month. I throw on an audiobook and paint away for an hour here or there throughout each week. This past month, I listened to "Tom Lake" and "The Art Thief" audiobooks. After finishing the Harry Potter series, these were a fun change of pace but still super calming while working.

May saw a good amount of client and licensing work. I've been working on a set of 4 commissioned paintings for a doctor's office. These will have a whimsical foliage design paired with the four different anatomical pieces that the office operates on. The idea is to give the patients in the waiting room a lighter feeling, almost taking their mind off the "blood" of it all. I have pictured below my sketches for these pieces. They will be 16x20. I have them all penciled in on watercolor paper (no small task) and will start painting them this coming month.

A local Houston stationery company commissions me to create custom illustrations. The designs vary widely from pets, maps, houses, and so on. This month, they asked me to illustrate a client's cat in a line drawing style.

I also worked on some holiday designs for my wholesale licensing agent. This is just a smidgen early for holiday work. Usually, it's closer to July when these requests start to come through, but every company is different. They were asking for a couple of different styles, one of them being "folk," and it got my creative juices flowing.

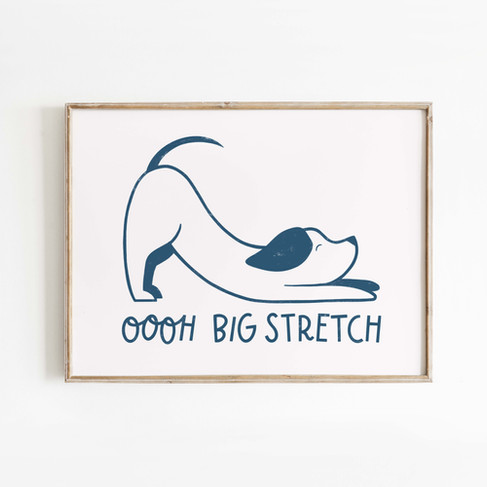
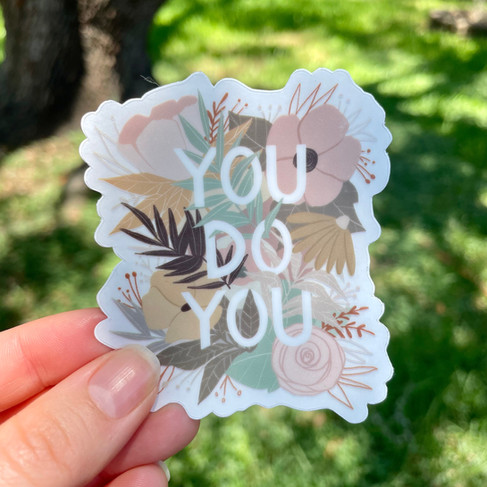
May saw lots of fun Etsy orders. I always enjoy it when new designs are trending. This month, stickers, cards, and some of my silly art prints were the bells of the ball. So far, the designs below are taking the cake!


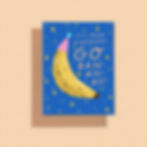
Speaking of birthdays, May was Ricky's birthday month, which always brings about the fun challenge of creating a hand-drawn card for Ricky. This year, I made him banana bread as a yummy sweet treat to enjoy, so I made a banana-themed card to go with it!
Going back through the month, I can now see how much I accomplished. But "OOF," my friends, it's a challenge to accept that I'm doing enough sometimes, especially when I'm in a month of feeling a little more tired.
So here's to keeping on and offering yourself grace. Your best will look different each day. So, when your best is only 50% of your normal capacity, but you're giving that full 50%, then you're giving 100%!
Cheers to June, ya'll!
See you in July!
xoxo
Rachel
- May 1
April Showers bring May Moon Flowers!!!
Happy May My Moon Joy Lovelies!!! Can you believe it?!? We went to the Moon!!! I'm still in awe at this marvelous feat and the amazing four astronauts who were a part of this mission.
I have been living in Moon mode for the past several years. My husband, Ricky, works at NASA and worked on both Artemis I and Artemis II. So, we have been talking about the moon for the past several years.

It's fascinating to hear about. Just last night, we were talking about all of the different viewpoints that went into this mission. For example, you have the engineers who build the rocket and vehicle, the flight controllers who operate and fly the capsule, and the scientists who gather data and study the moon itself. So many people created this mission, and it was amazing to see everyone work together and get to experience all types of "Moon Joy" from their respective fields.
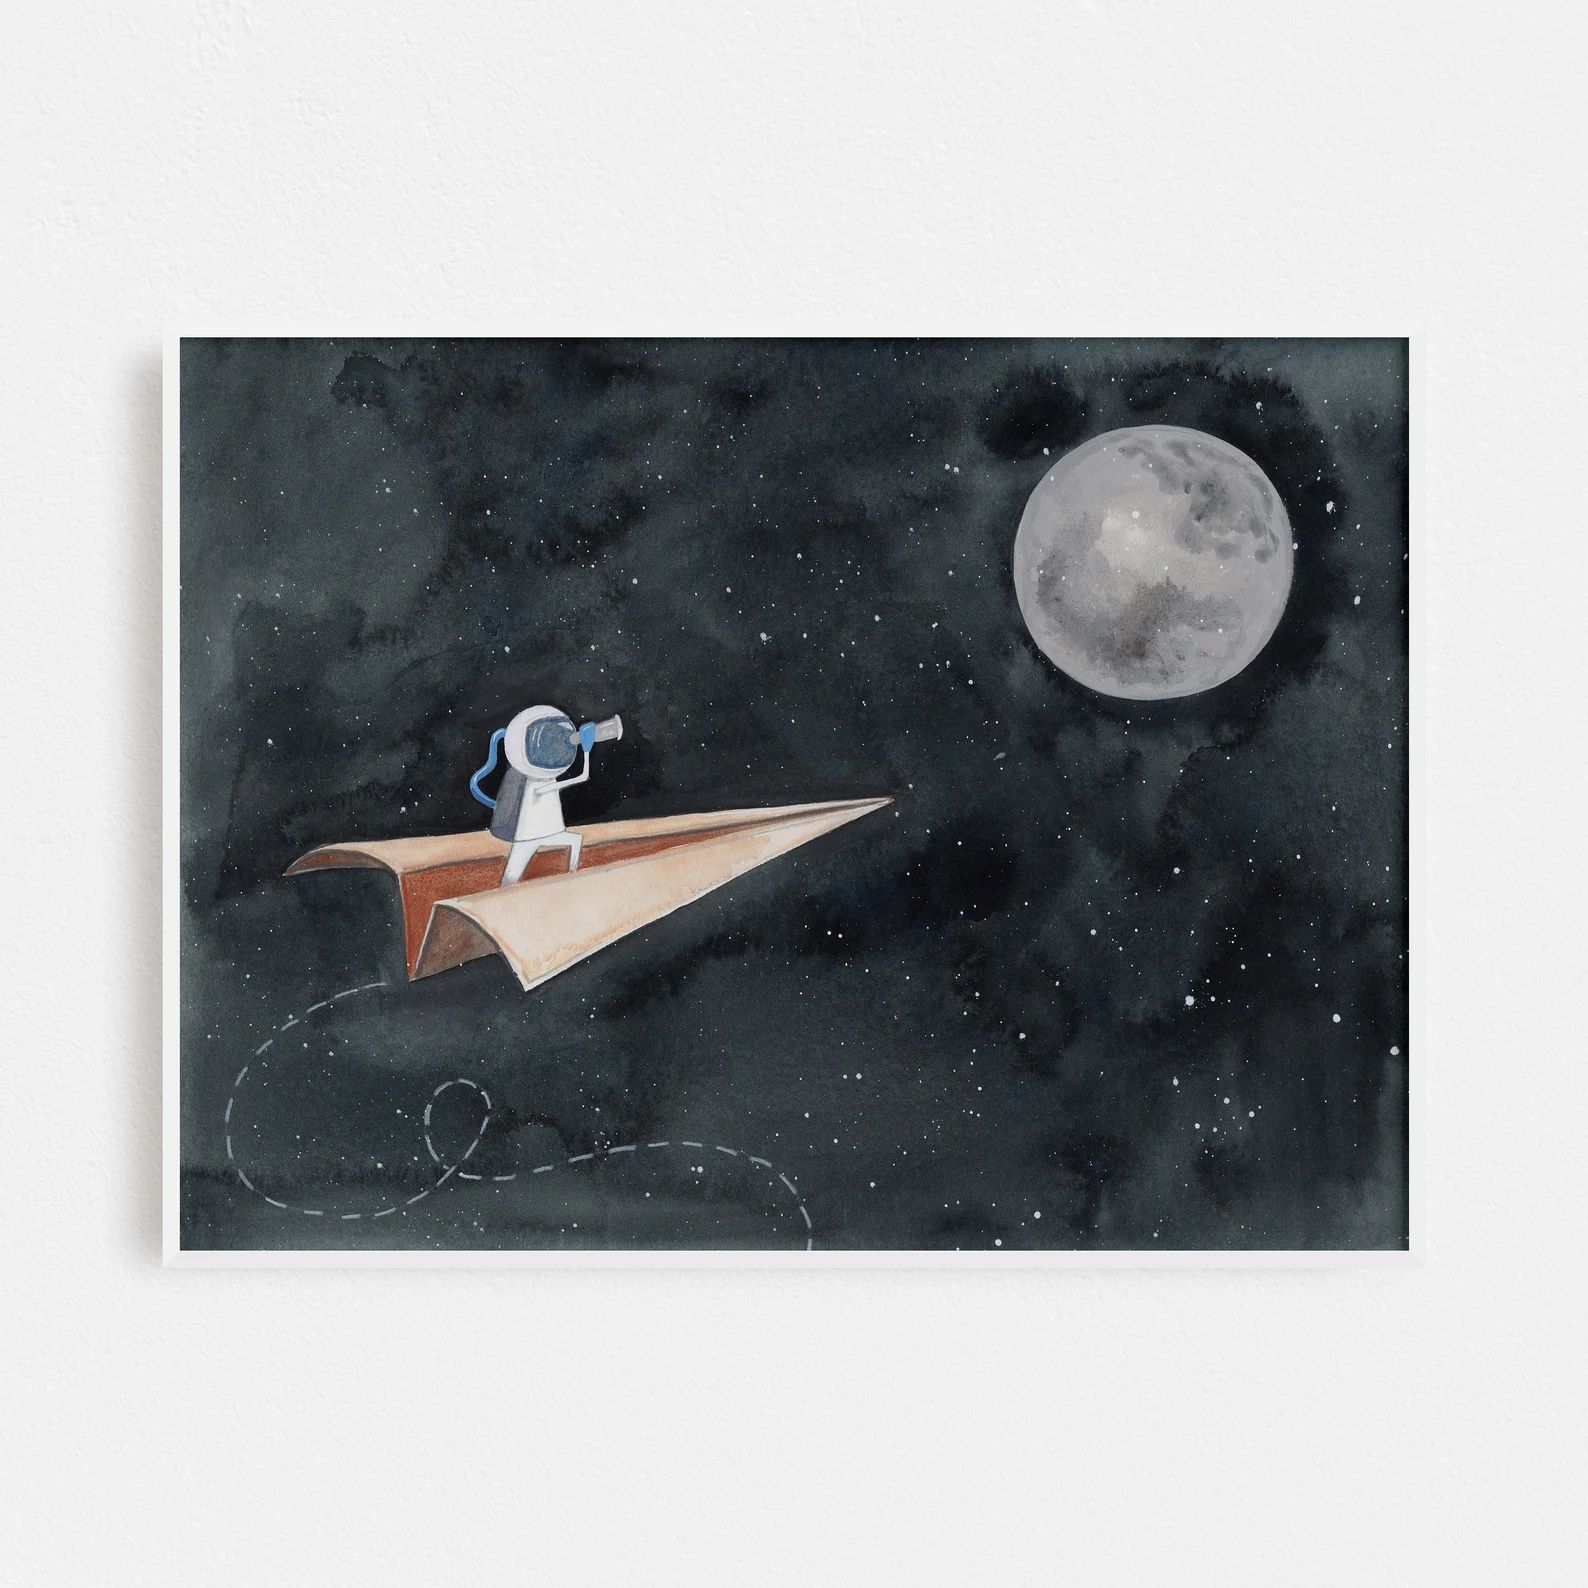
The main thing that has interested me about space is the adventure behind it! The wanderlust and the exploration! This is what I love about travel and hiking, and I would argue that space is the ultimate form of exploration!
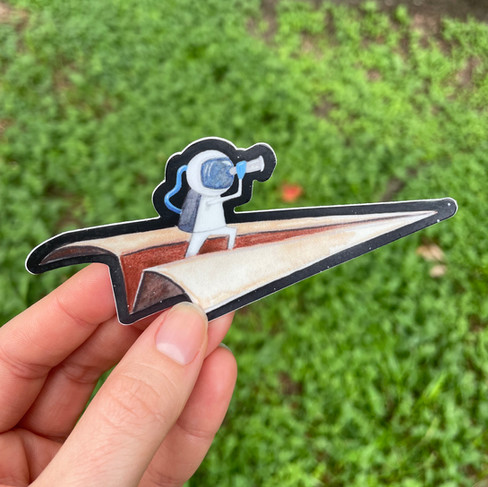
I have been creating space art since 2018 (holy moly!!). My very first piece was a tiny little astronaut holding onto a Moon Balloon.

I liked it, so I decided to sell it. It did pretty well, so I made some more space prints, and then some more, until suddenly I realized I had a Collection that people seemed to respond to.


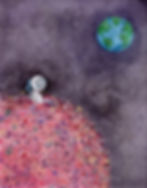
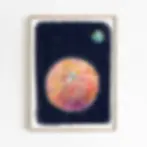
A turning point for me in the series was when I painted these blooming moons! They brought me so much joy and happiness, and I was tickled pink that everyone else responded to them, too.

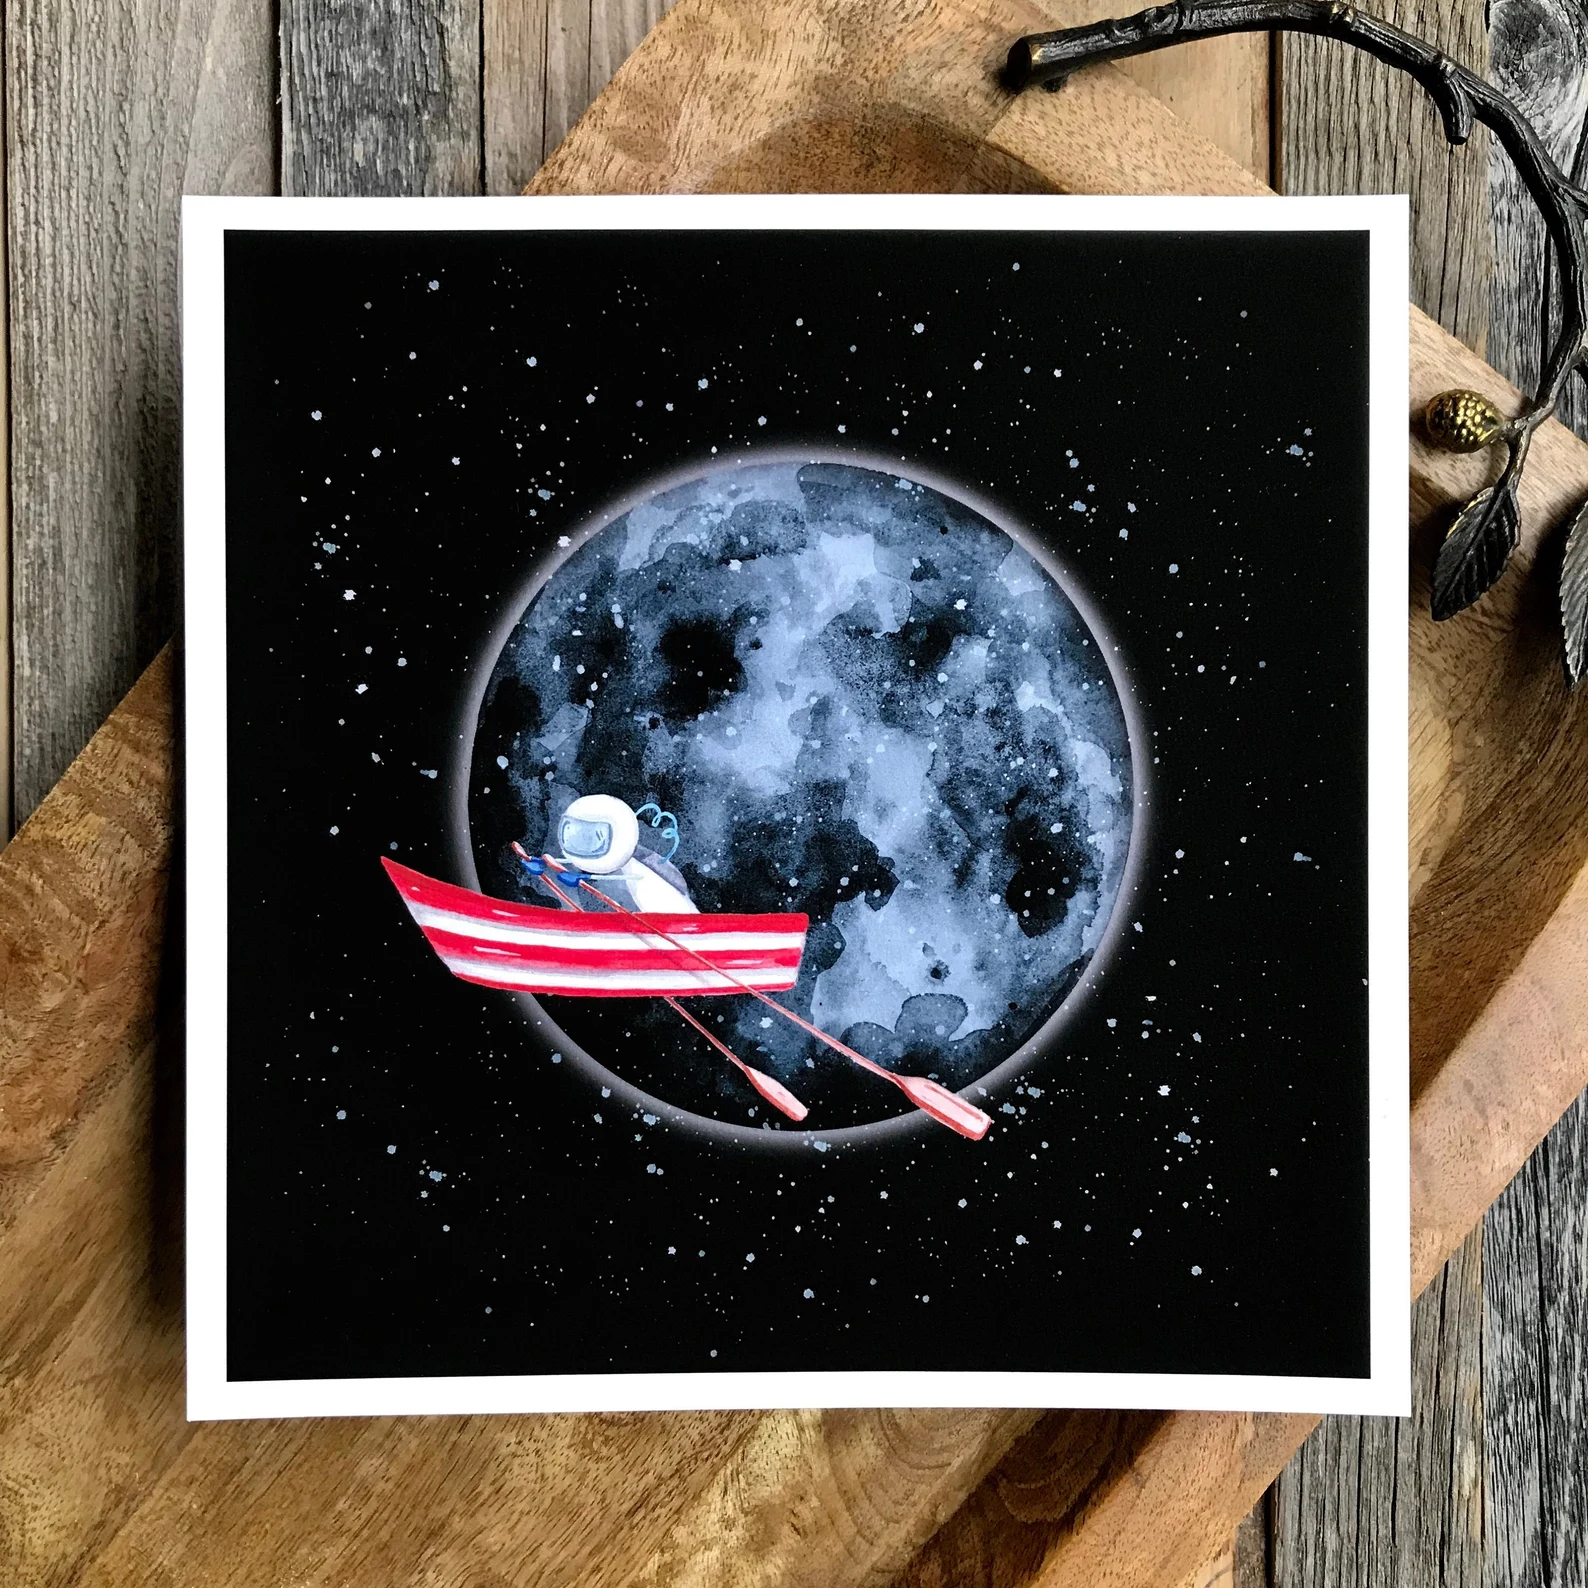
I've let the collection sit for a while, focusing on other work, but this past mission has definitely inspired me to create some new pieces. I made a small batch of prints last year, pictured below.
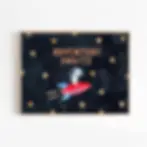
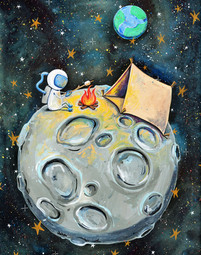
But over the past few weeks, I have been tinkering with some more pieces. I thought it would be fun to share what I've been working on (even if it's still in sketch form).
Per usual, I started with small loose and very rough thumbnail sketches in my IPad. I like to use the Procreate app for sketches. It helps me move more quickly before I paint or draw on paper.

To refine my sketches, I enlarge the thumbnail and sketch out finer lines.

I was inspired by the photos of the crescent Earth behind the Moon and I was inspired by how these astronauts talked about and lived in this mission.
They are explorers and climbers!

They are road-trippers!


They spoke of the Moon like authors and poets!

They admired the Moon, and they admired our home, Earth!


And ultimately, they spoke of Moon Joy!
Not only for themselves but for all of us watching back on Earth!

Hopefully, I will be sharing the finished pieces with all of you soon. I will keep tinkering away, and I hope you keep basking in the sunshine that Moon Joy has brought to the world!
I'll leave you with this clip from the mission!
If you want to check out my current space collection, you can find everything at the link below.
Cheers and see you in June,
Rachel


